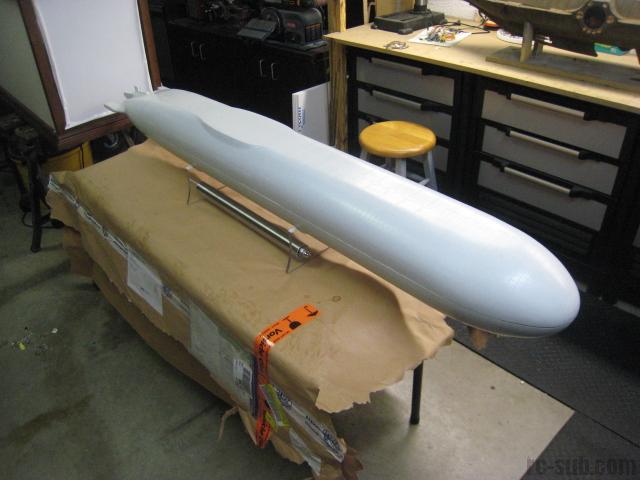
Length : Approx. 574 ft (175 m)
Beam : 75 ft (23 m)
Draft : 38 ft (12 m)
Displacement : 33,800 tons
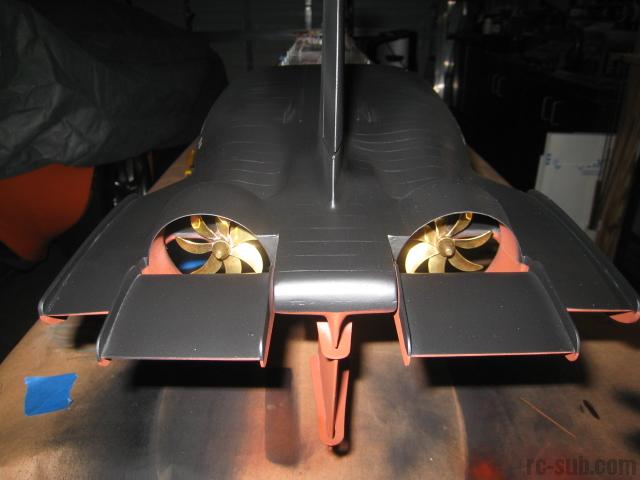
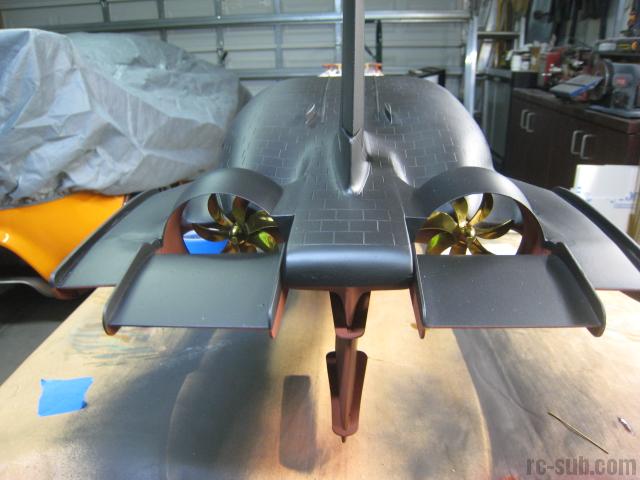
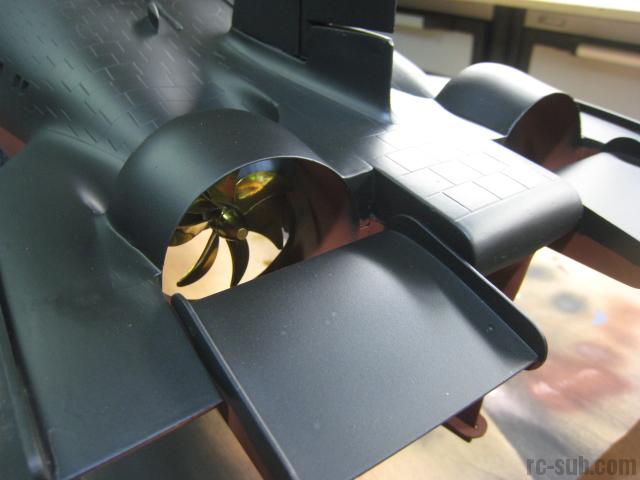
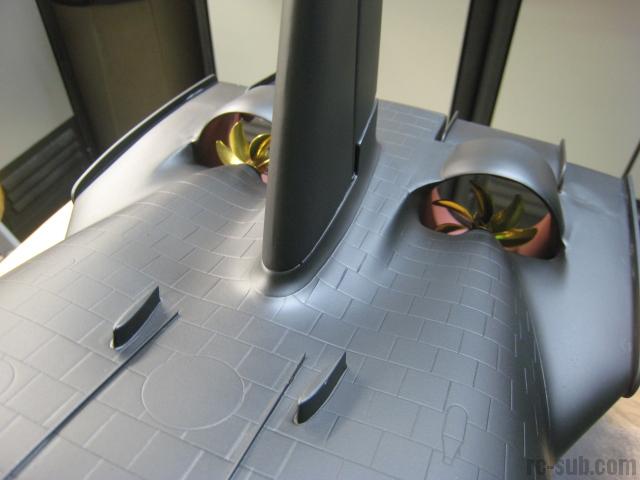
Propulsion : 2 pressurized-water nuclear reactors, 2 propellers
Crew : 150
Armament : 6 torpedo tubes, 20 ballistic missiles
Maximum Speed : Approx. 27 knots (31 mph/50 kph)
August 25, 2010
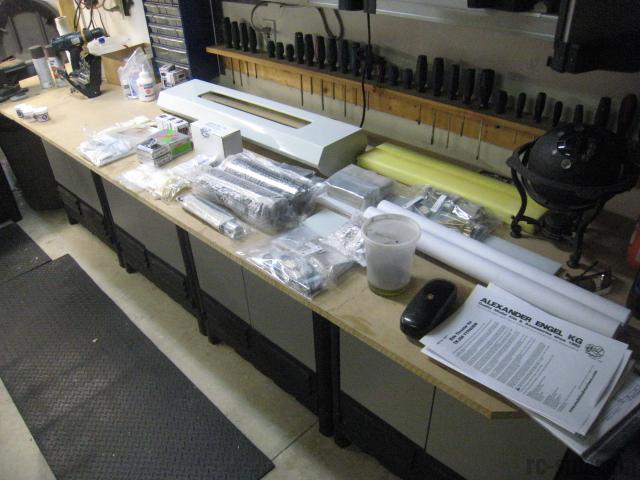
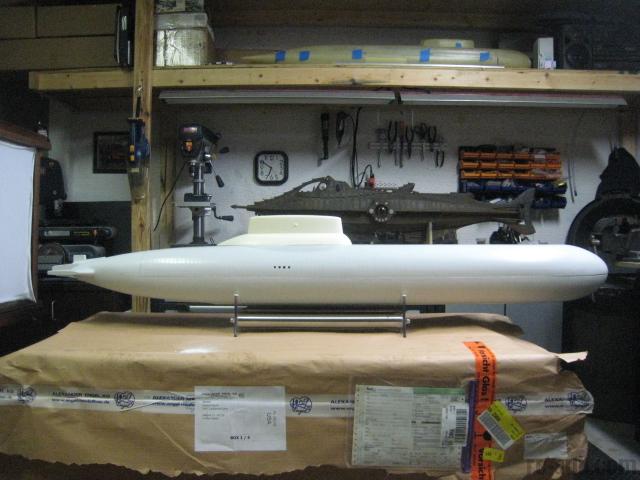
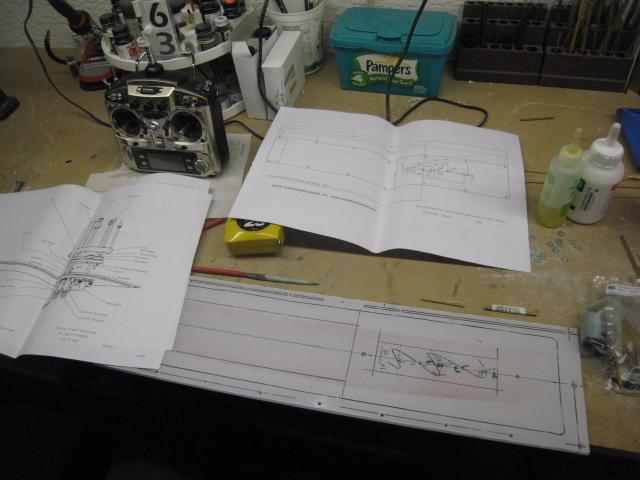
This project has officially commenced! The model is astoundingly well packaged and contains excellent drawings and very comprehensive instructions. Fit and finish are excellent.
I am very impressed with the sheer SCALE of the model. It will have a very commanding presence on (and under) the water!
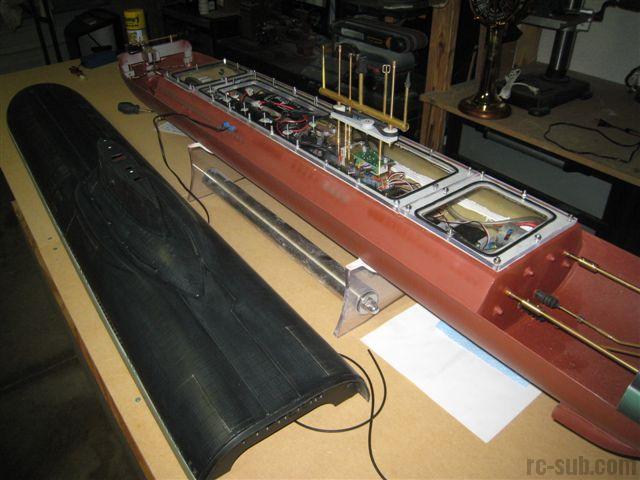
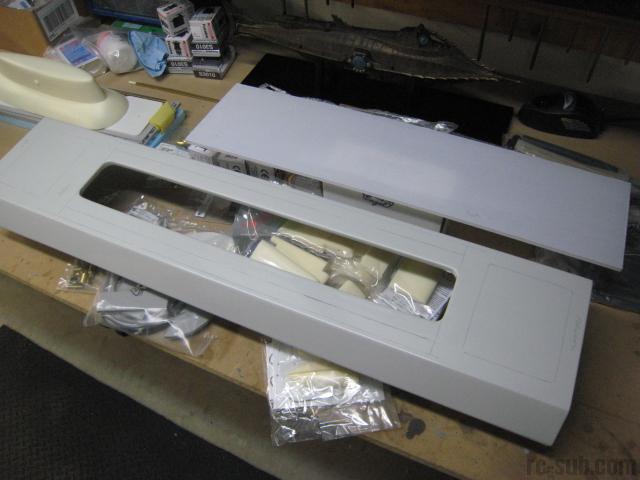
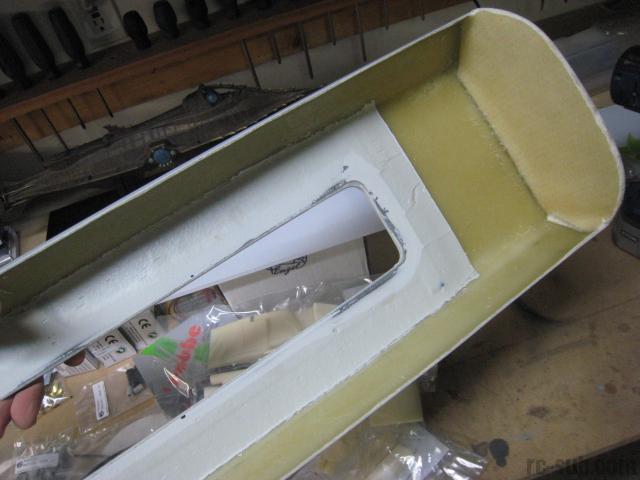
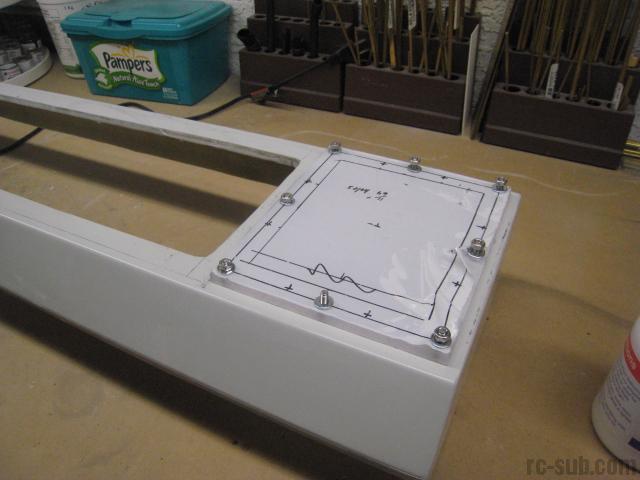
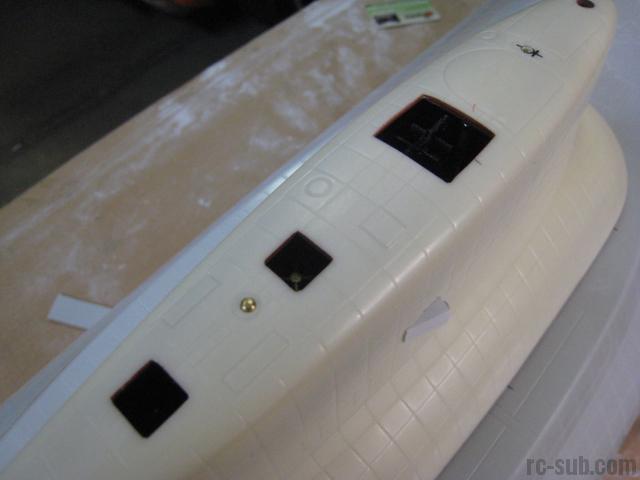
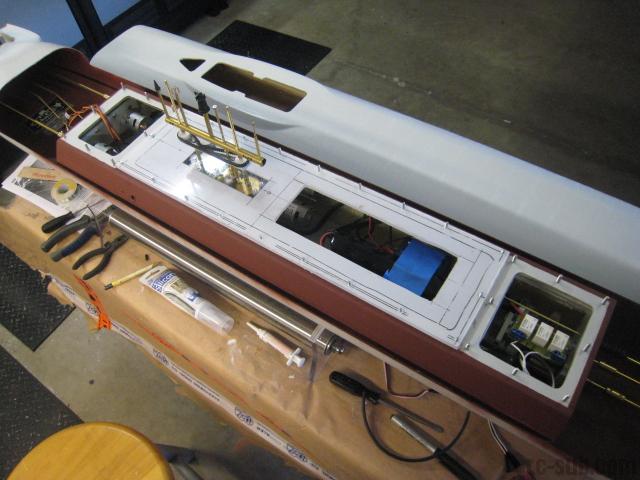
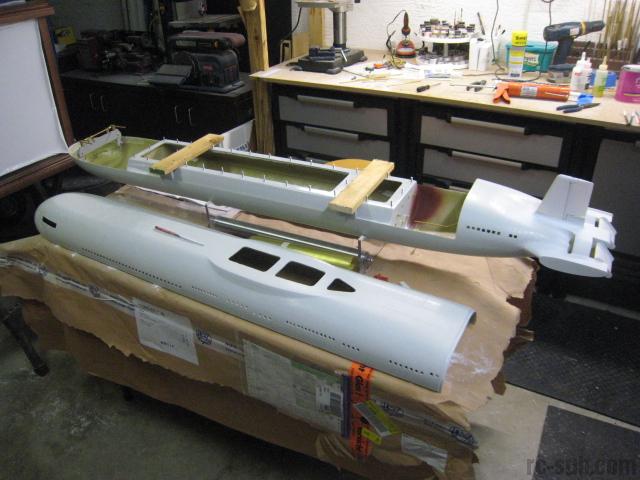
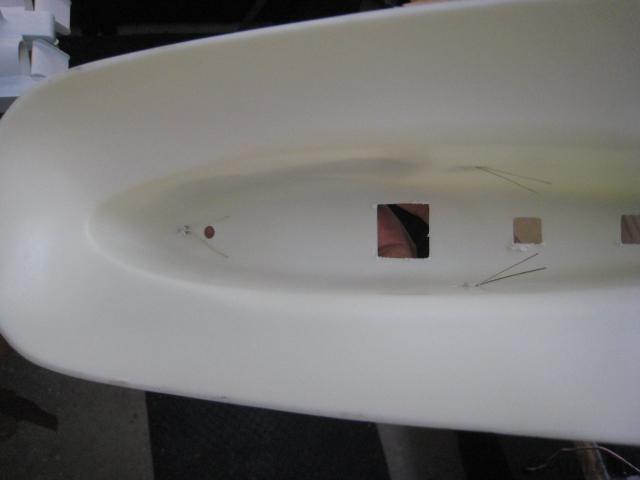
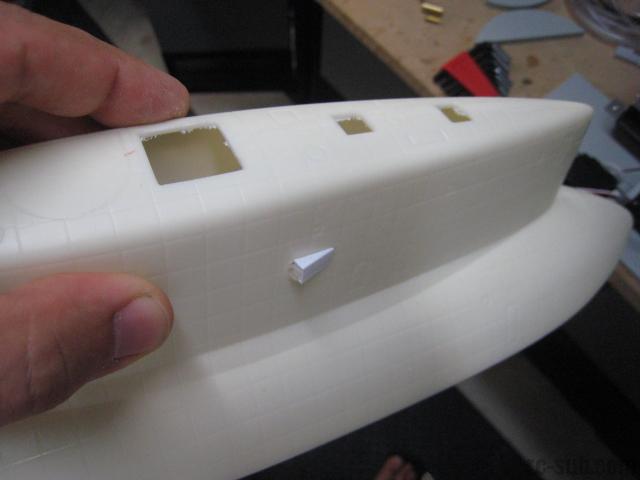
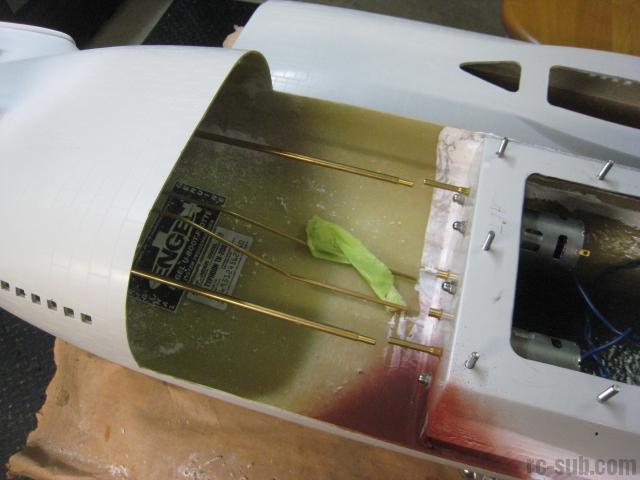
I immediately knew that I wanted to get better access to the pressure hull, so I attacked the lid with a jigsaw. Cutting through the lid was very time consuming, and I went through about three blades by the time I was done. The fiberglass is very tough, and there are steel reinforcing rods that I went through as well along the perimeter of the original opening.
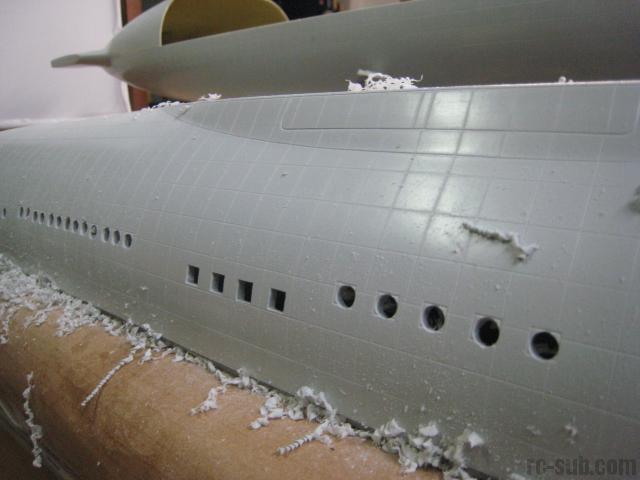
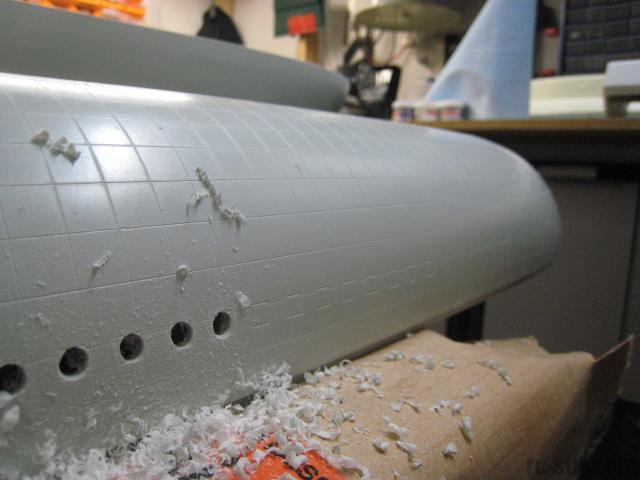
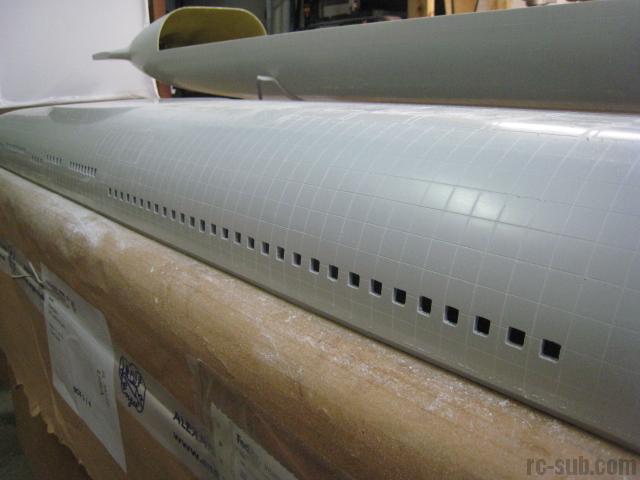
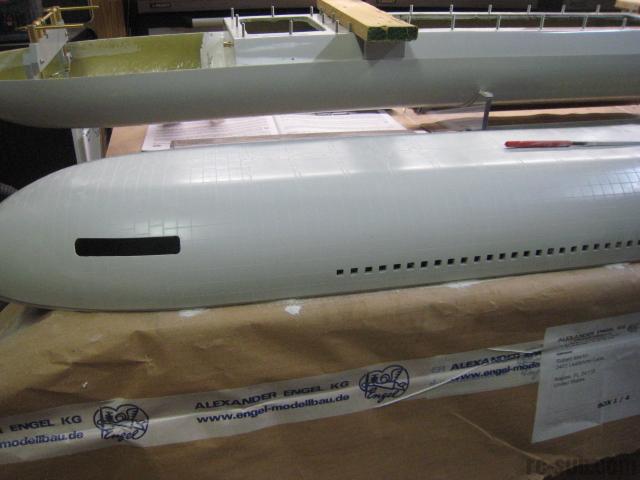
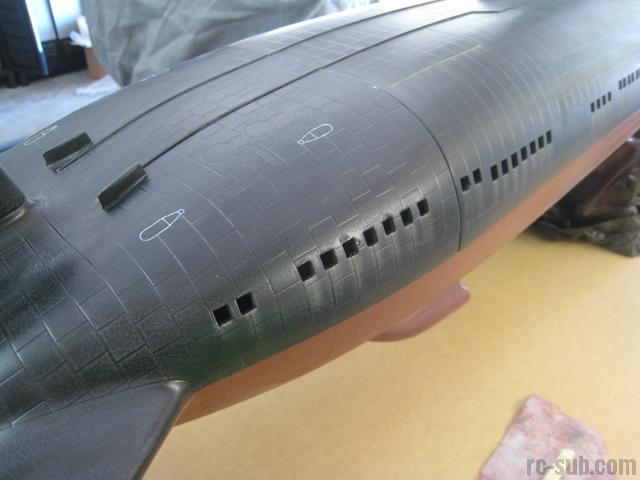
I also began the work of drilling out and filing to shape the many, many (many) grates along the waterline of the model. I used a square file to get the correct shape after drilling the main hole with a standard drill bit. The process was time consuming and tiring, but not particularly challenging.


September 21, 2010
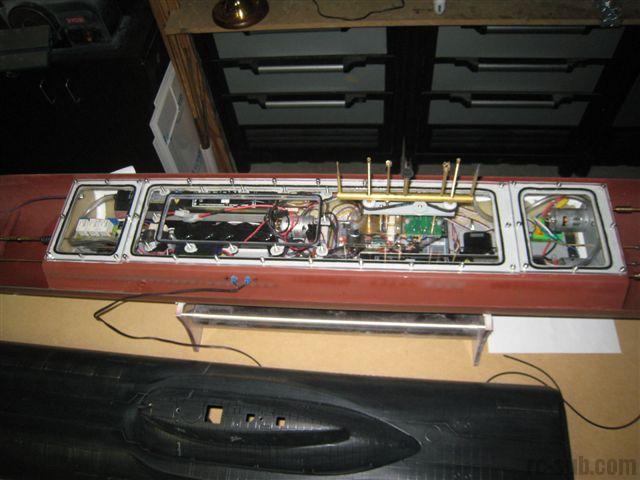
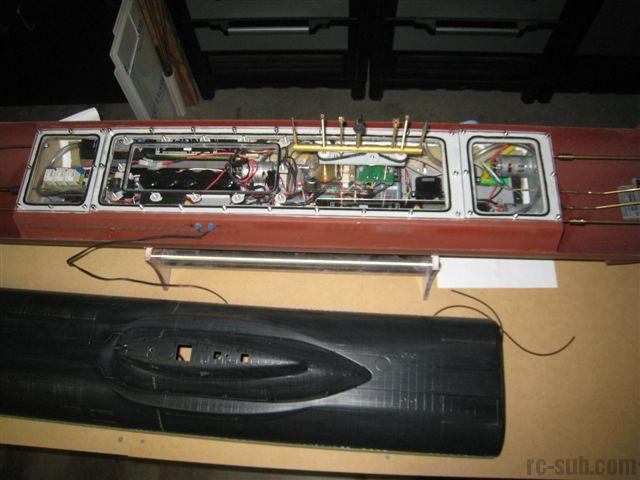
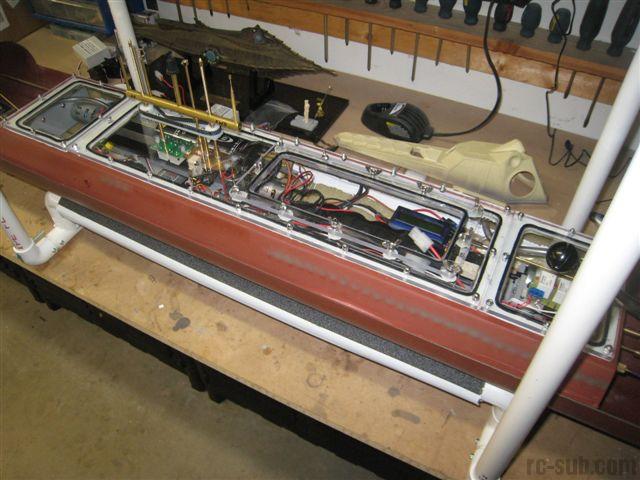
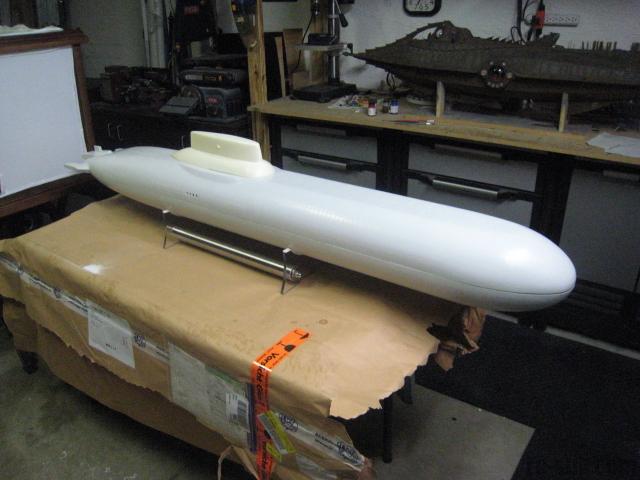
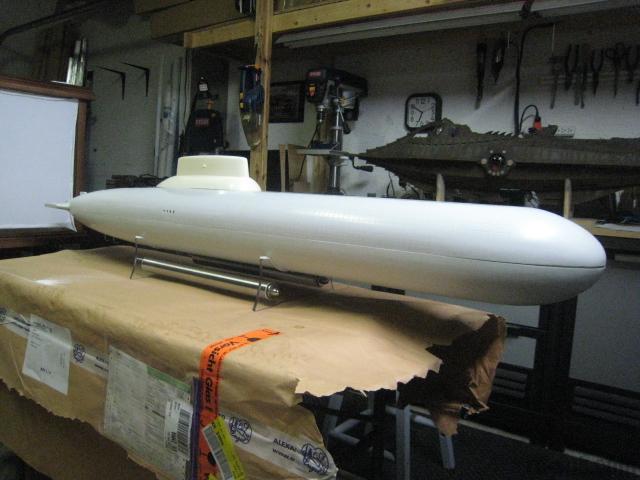
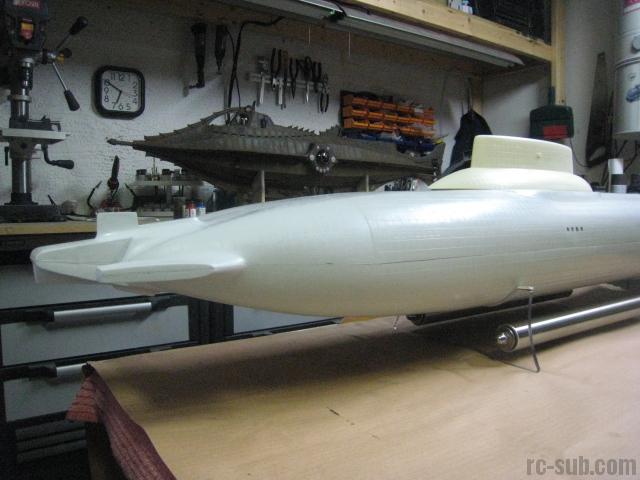
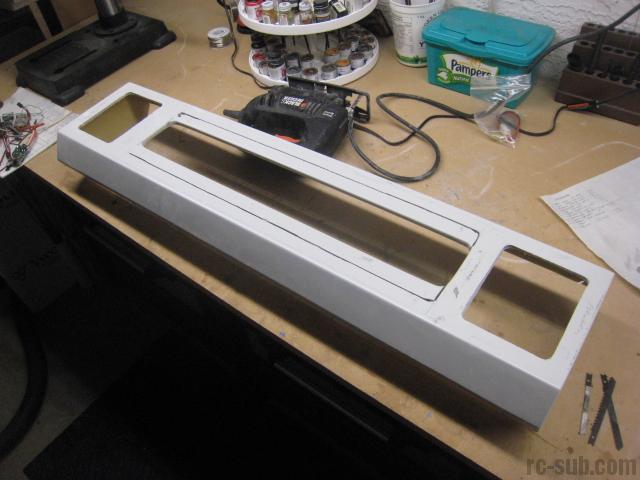
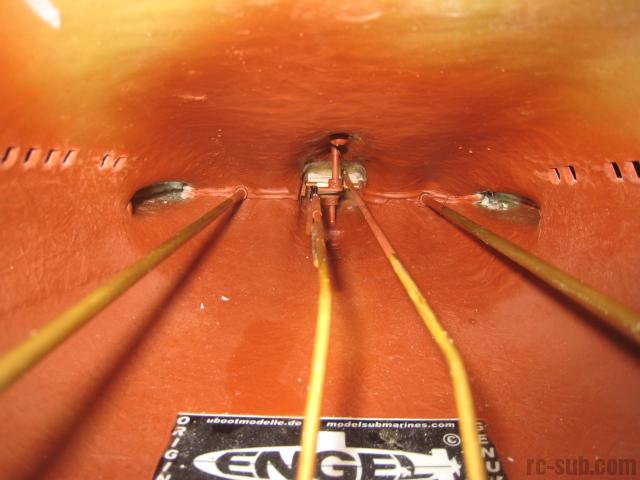
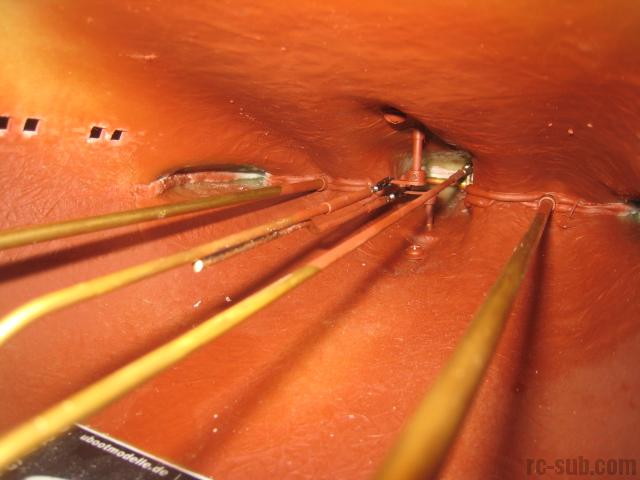
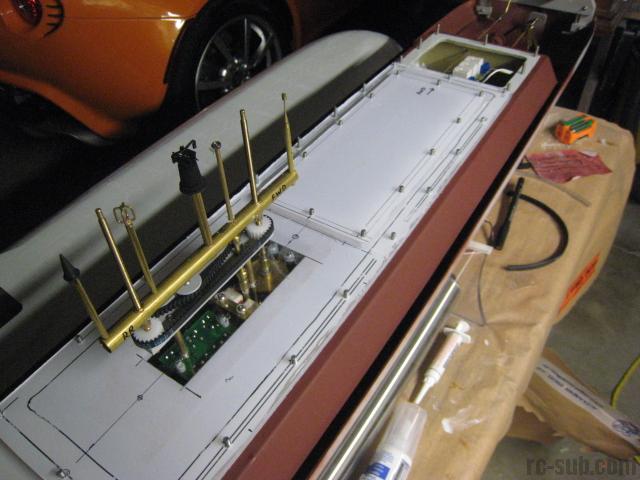
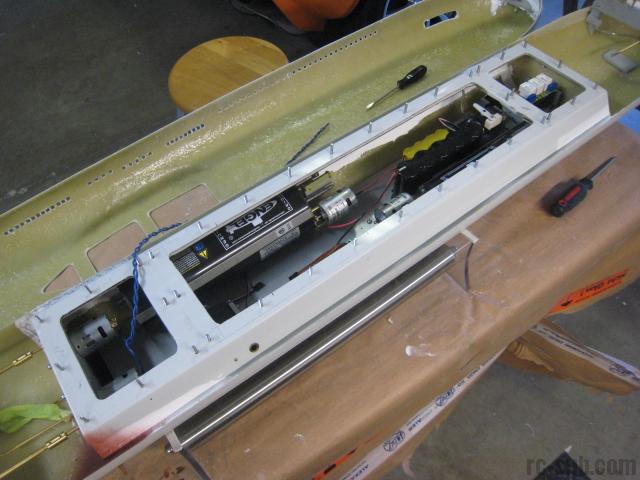
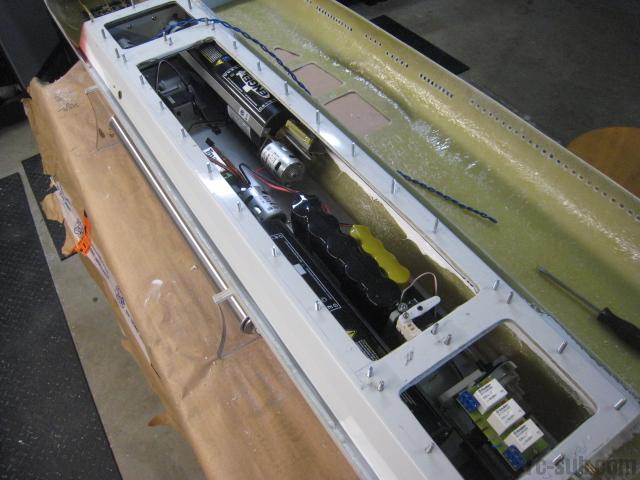
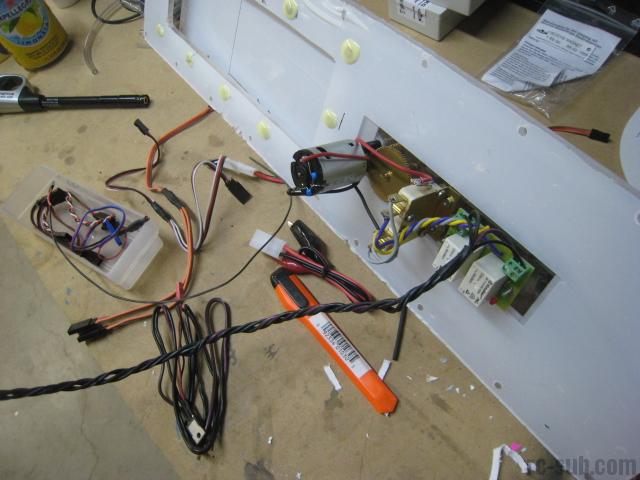
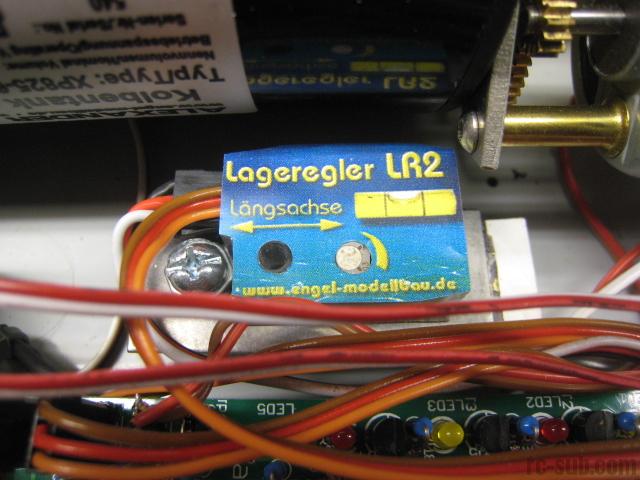
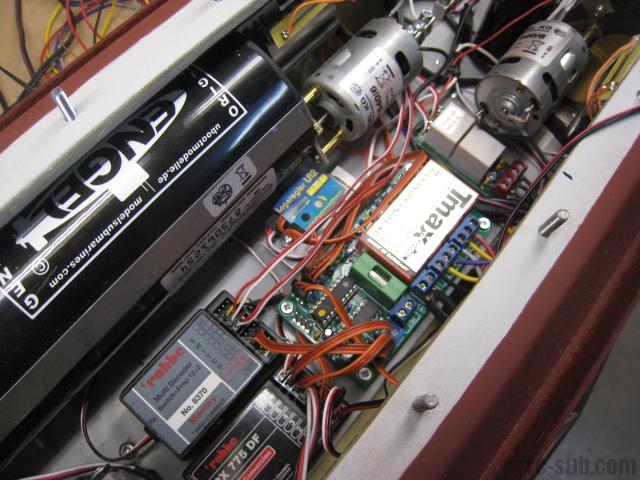
Good progress! The pressure hull openings were completed, and the hold down bolts for the clear 1/4" thick polycarbonate lids installed. Engel's propulsion motors, dive plane retract modules and periscope modules were all assembled and installed with very few issues.
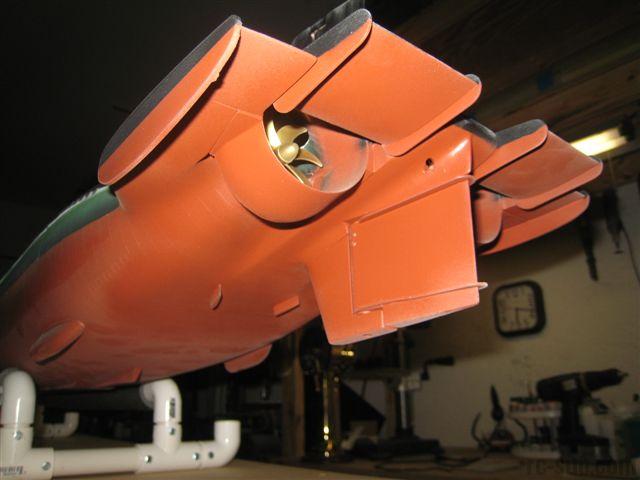
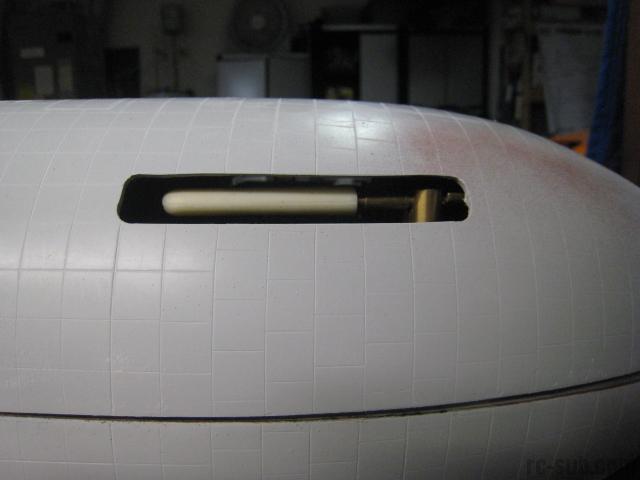
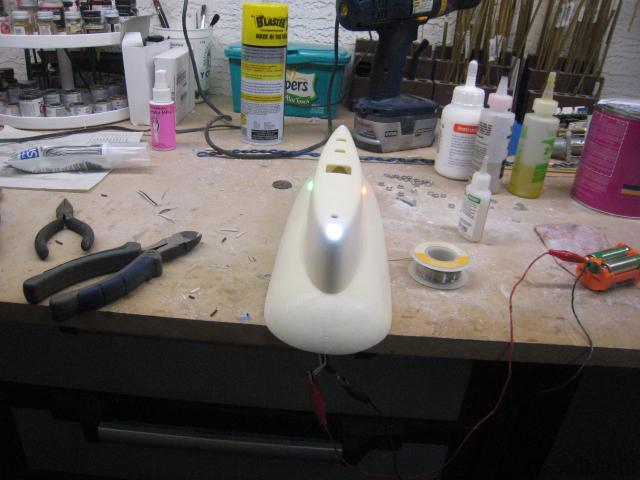
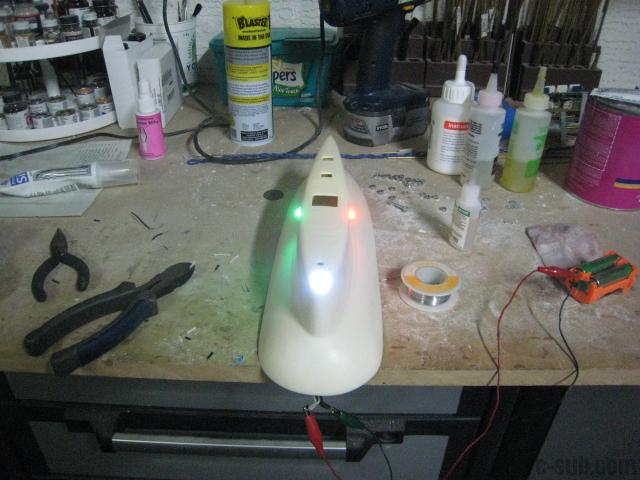
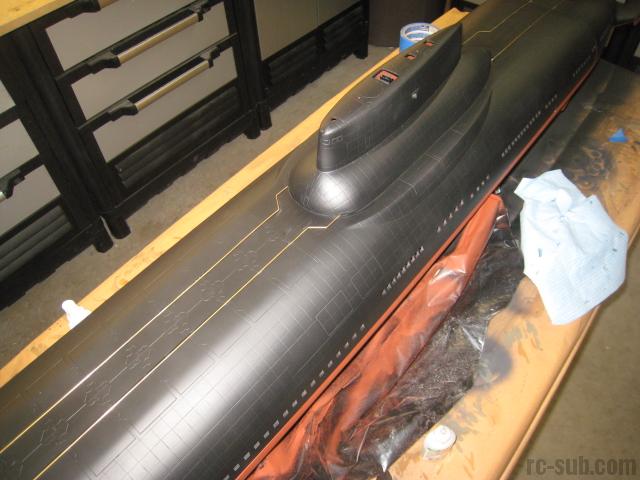
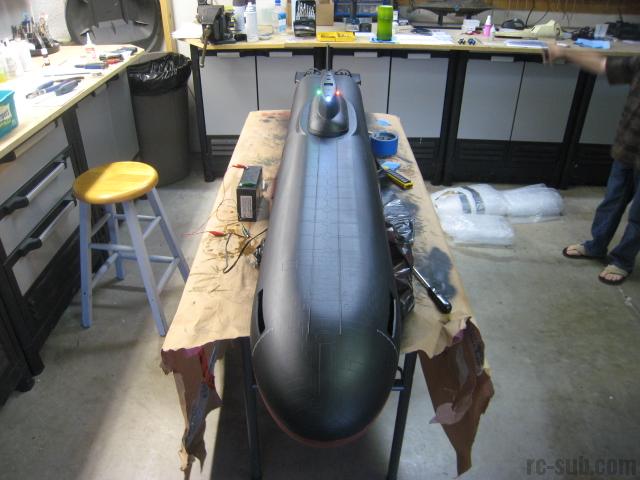
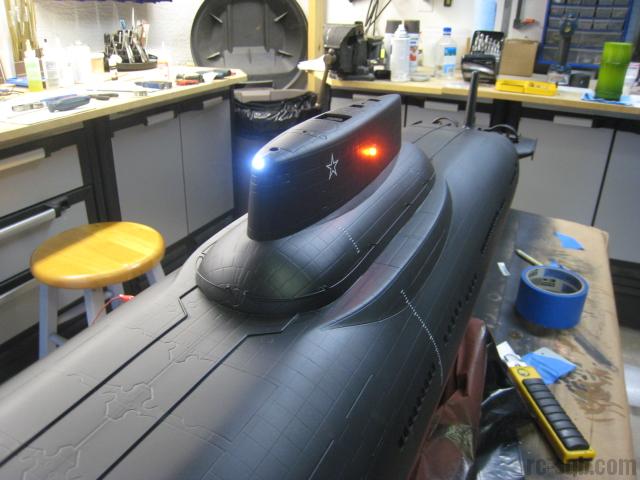
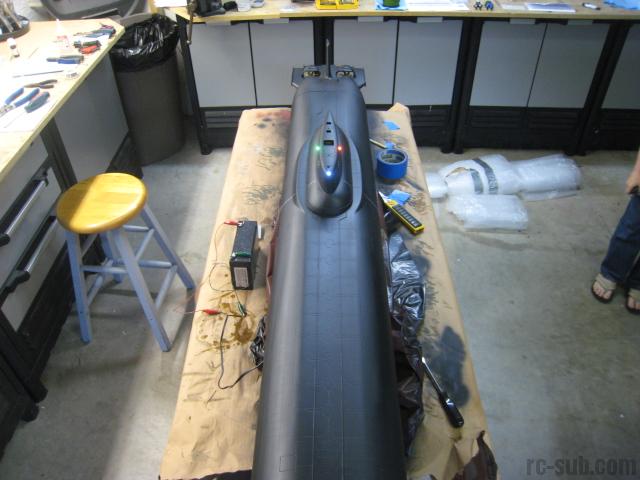
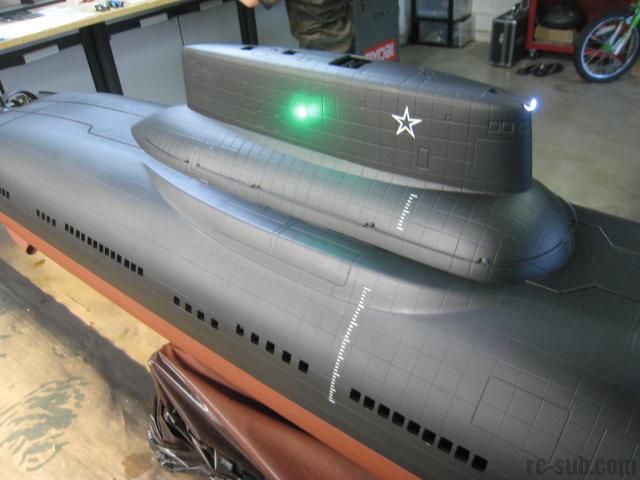
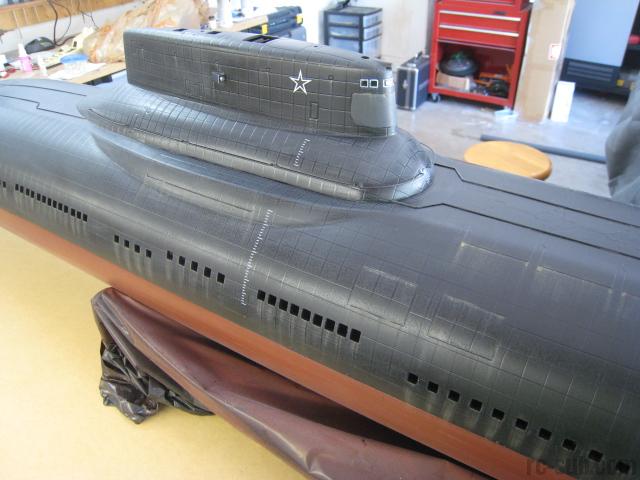
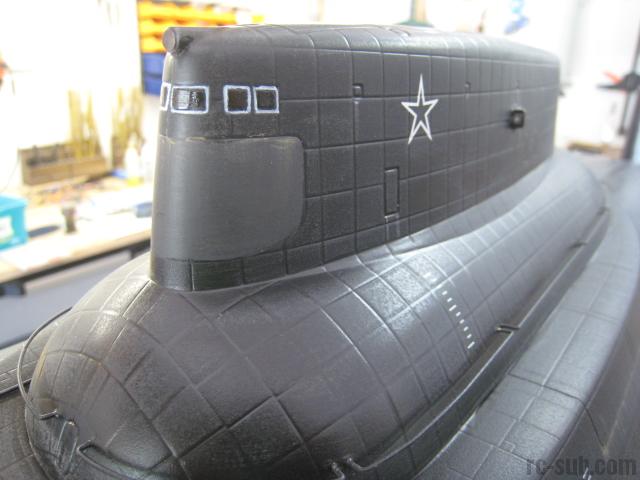
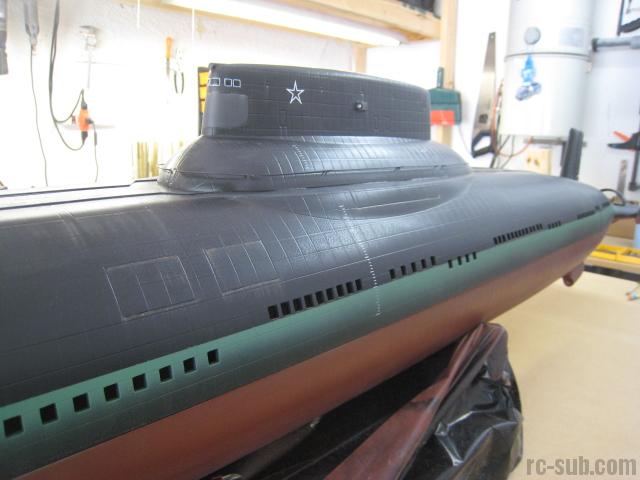
The conning tower openings were created and I elected to install some functional LED lighting in the conning tower to help improve visibility and also to provide a visual indicator of the main power activation. I have wired these directly to the main power lead so that I will never forget to turn the model off during testing or use.
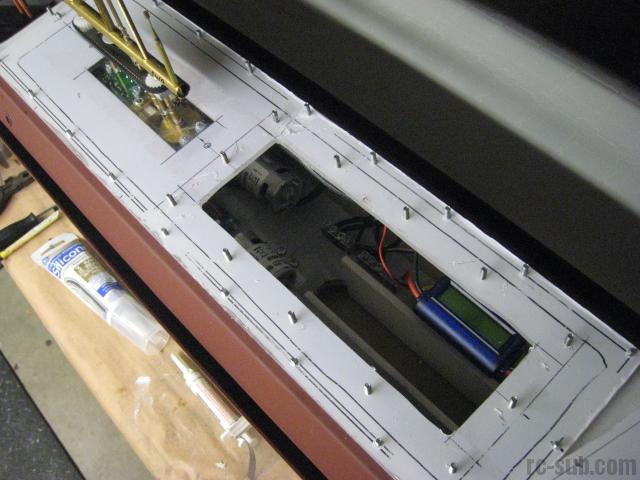
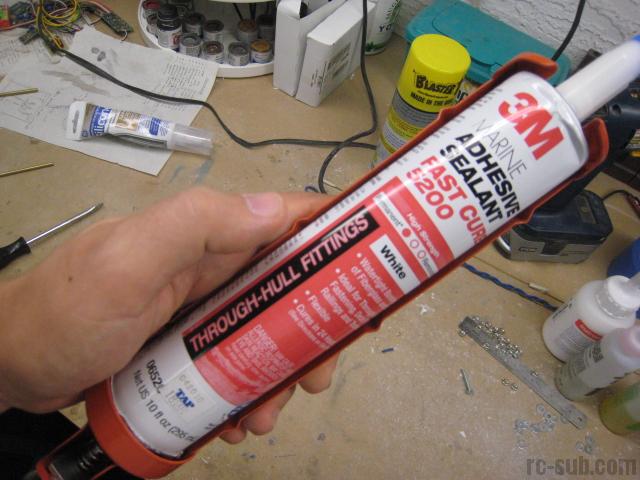
The main pressure compartment was installed using a marine adhesive specifically formulated to bond fiberglass. I elected to use this instead of the supplied resin and microballoons so that the compartment would have a degree of flex within the hull. Brittle adhesion may have a tendency to crack over time, and this adhesive has just a small degree of flex that should absorb shocks and provide a long lasting adhesion.
(It was also really easy to apply..!)
The pressure compartment lids were cut from sheets of 1/4" polycarbonate. I scrapped the idea of the Engel aluminum lids because I wanted to be able to quickly see what was going on inside the boat during testing and operation. The ingress of water should result in fogged lids.
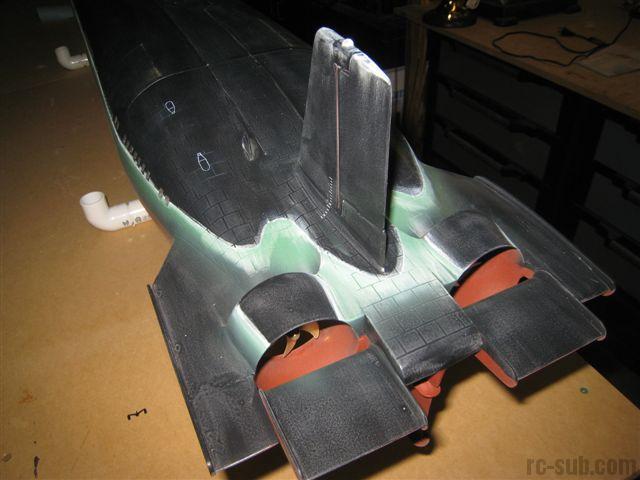
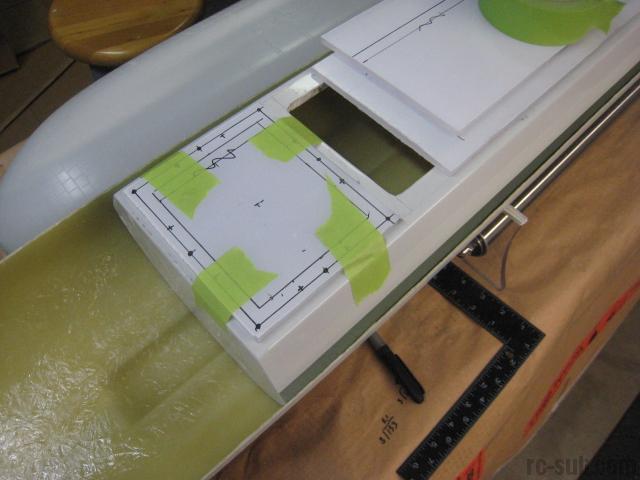
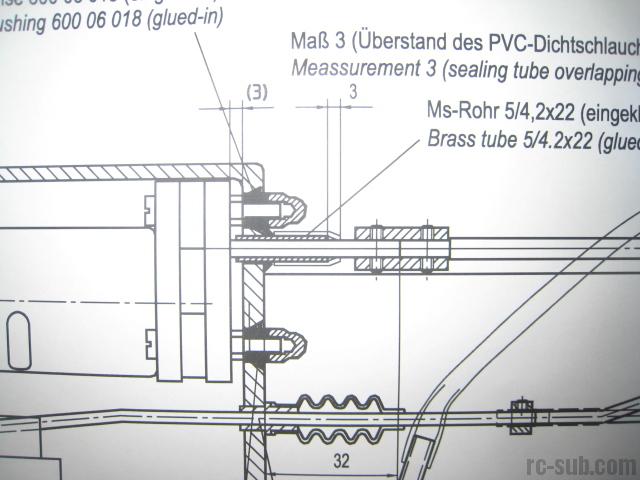
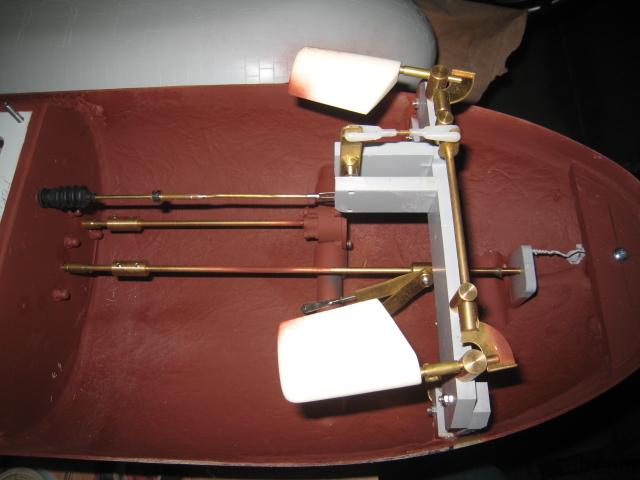
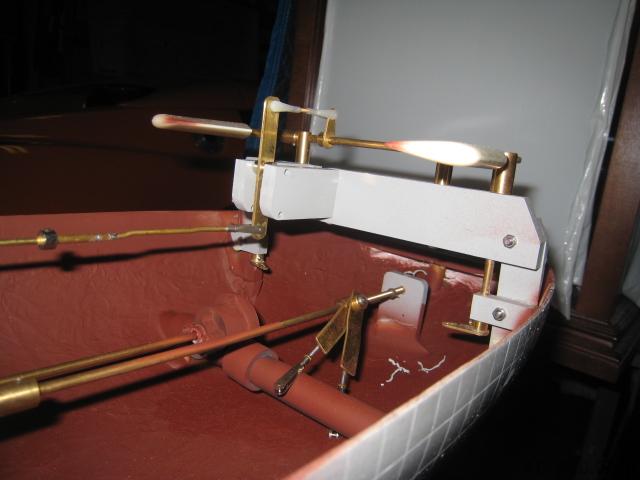
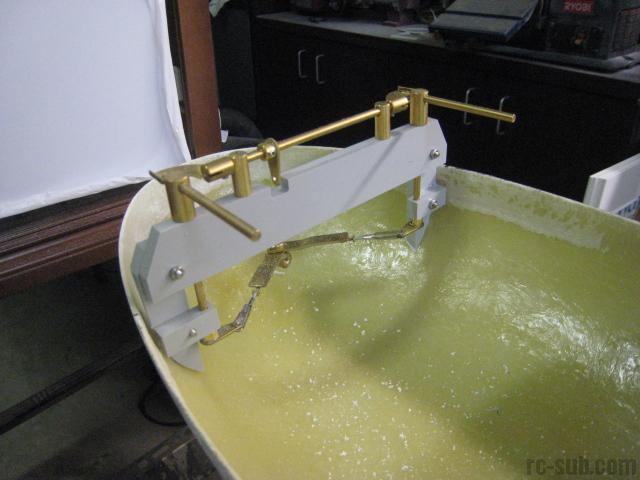
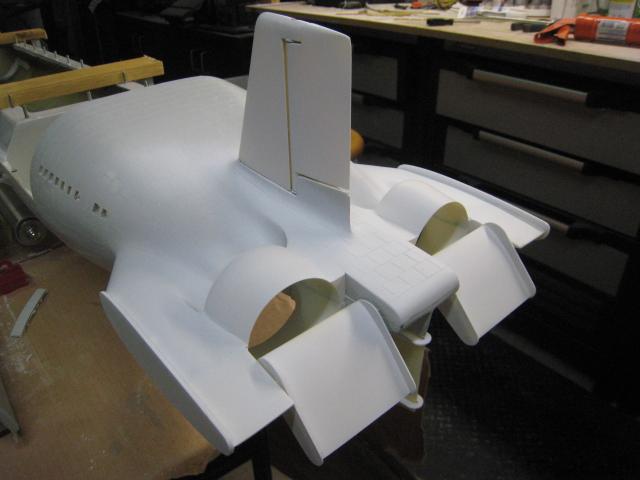
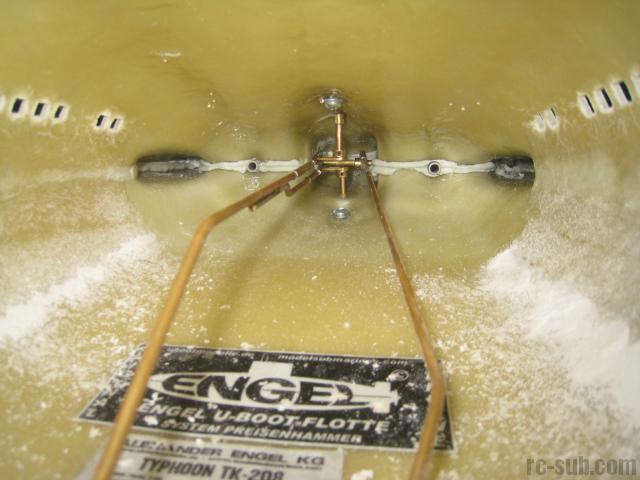
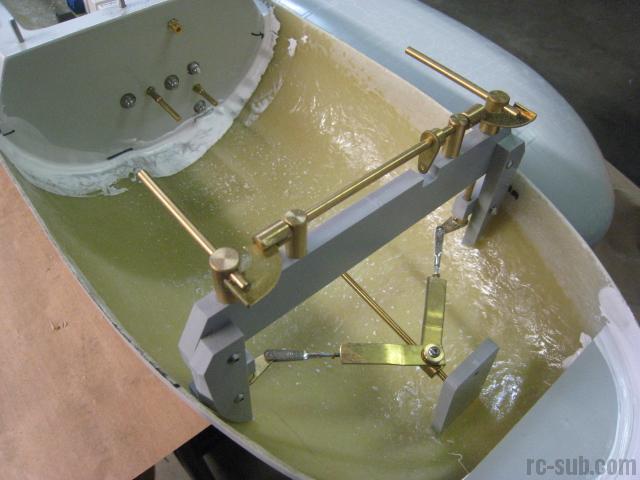
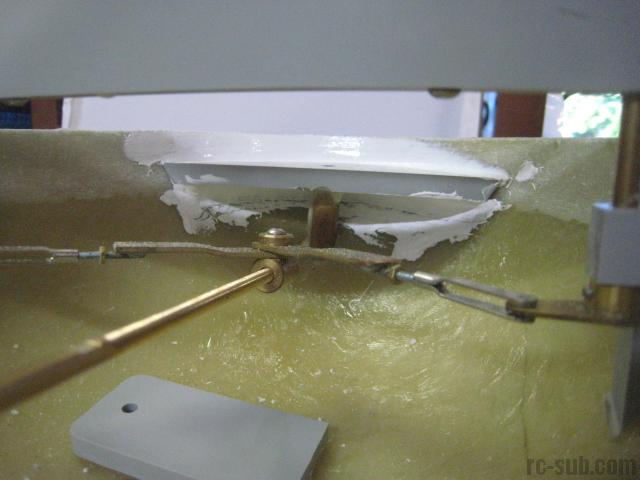
The dive plane assembly was straightforward. The biggest task was installing them in the hull accurately so that they lined up perfectly with the lid when it was installed. Engel's instructions on this were very precise and I was fortunate not to have to go through a particularly long and frustrating process to get them to line up well.
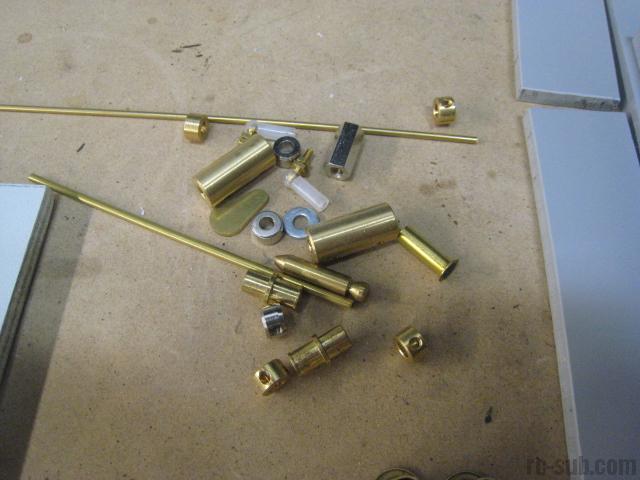
Instead of going with Engel's standard lid hold down that consisted of a long screw going into the lower hull through the top lid, I made it from the lower hull going into the lid upwards. I installed a brass tubing section to help guide the hold down bolt into place. It is very unobtrusive and turned out very well.


October 1, 2010
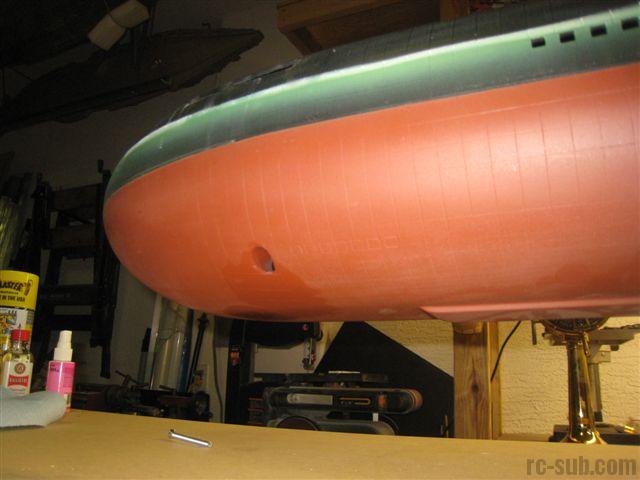
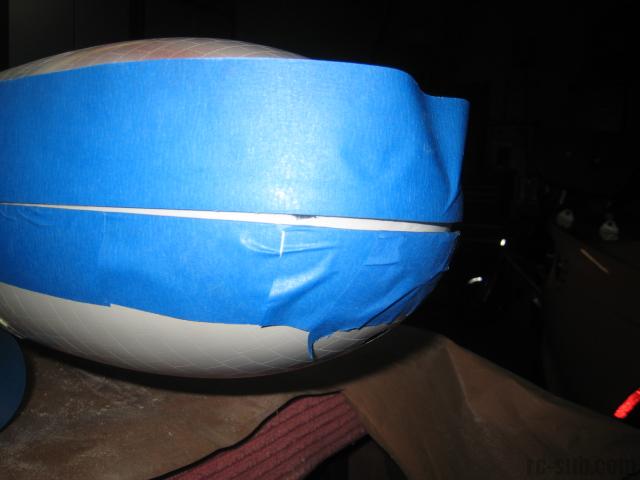
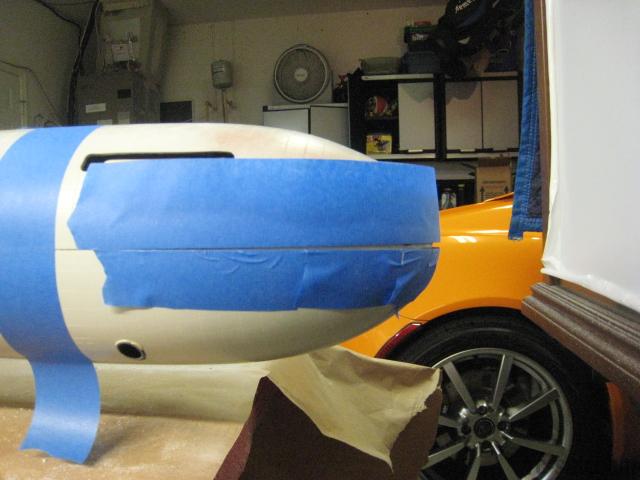
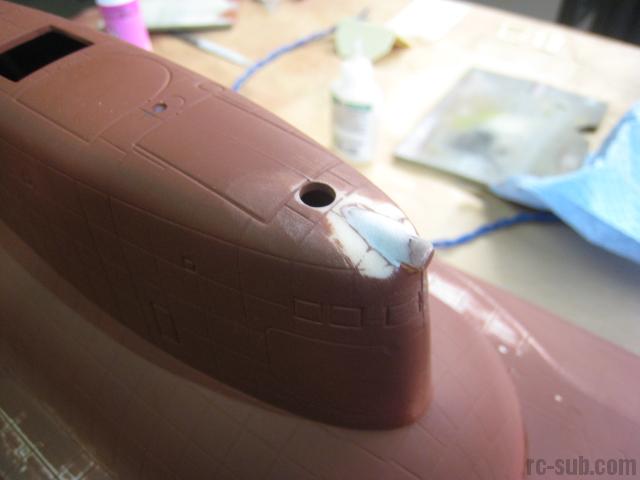
More progress! The lid with the Engel subs seem to have an inherent issue with fitment at the bow. I've seen other builds that wind up with a gap in the front, and my kit was no different.
I had a 3/16" gap in the front that I needed to fill with auto body filler to make a nice, tight seam. To do so, I simply taped off the hull surface of both the upper and lower hull and smeared in the filler. After it hardened, a quick workover first with a file and finally with sandpaper netted me a nice, clean seam!
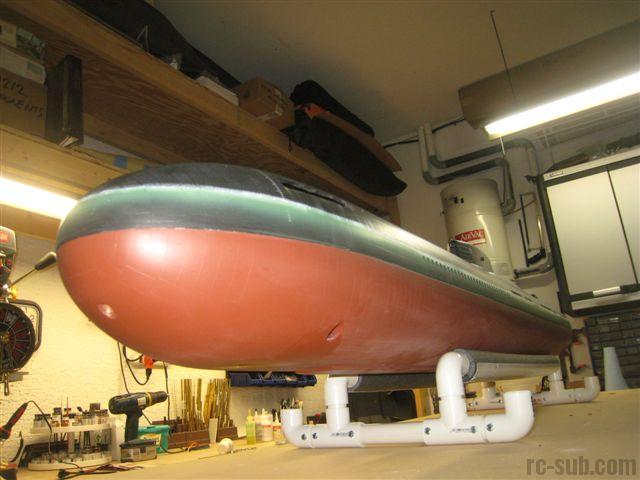
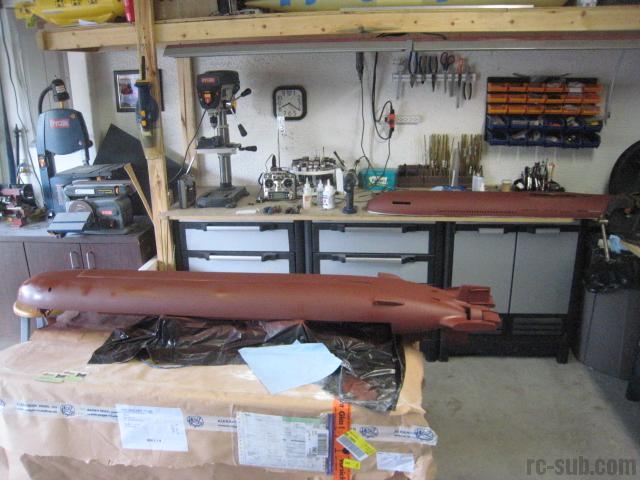
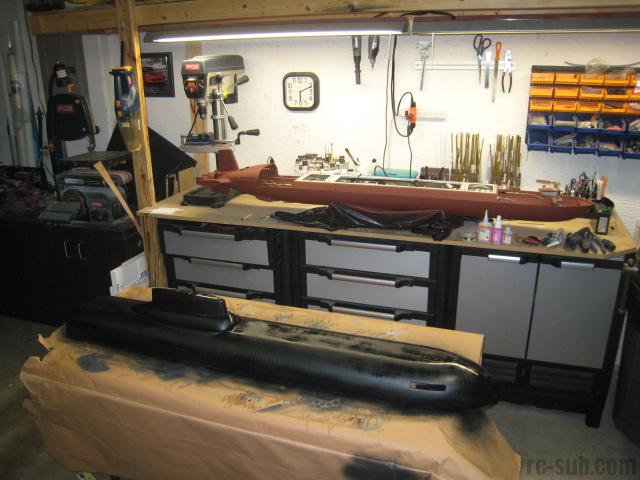
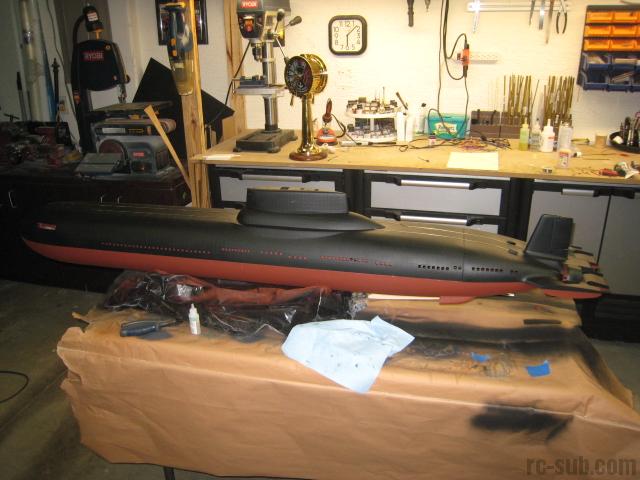
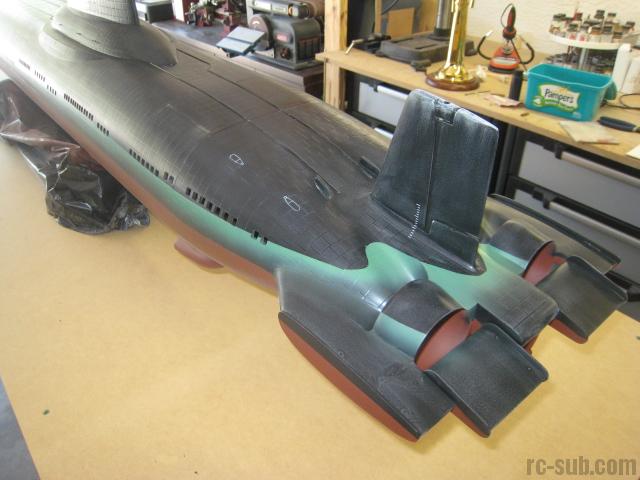
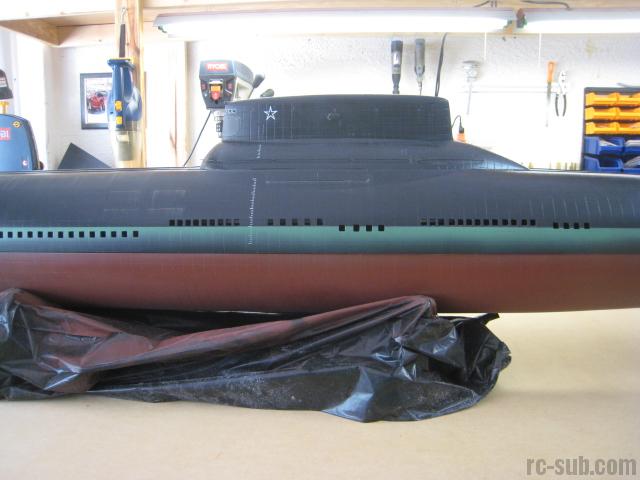
After this was completed, I primed the whole hull with red oxide primer, the color that I will use for the lower hull of the boat. My research indicated that the original TK-208 Typhoon was painted in this manner when it was launched.
October 14, 2010
Lots done! I'm getting near being able to test for leaks soon!
The pitch controller was installed. Unfortunately the brand that was included with my kit did not allow for zeroing the pitch out, so I needed to create an adjustable cradle that would allow me to adjust the orientation of the pitch controller to get true neutral on the planes. I did so from a simple small hing and two pieces of brass. The hinged piece had the pitch controller mounted to it and was adjusted via a screw.
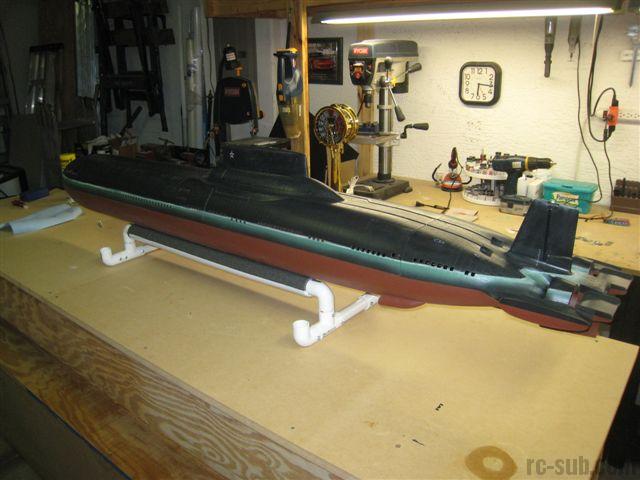
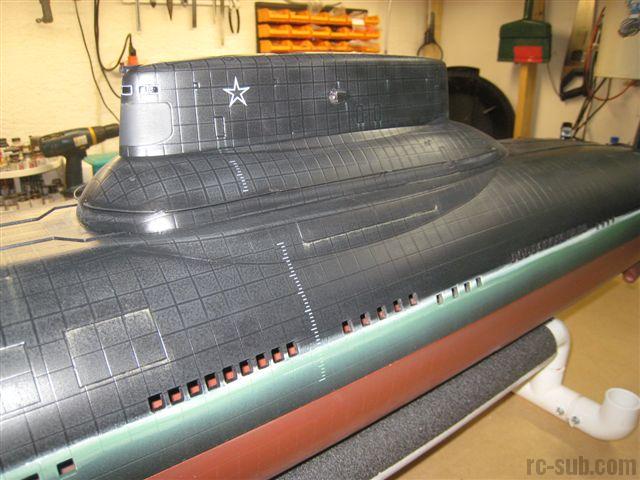
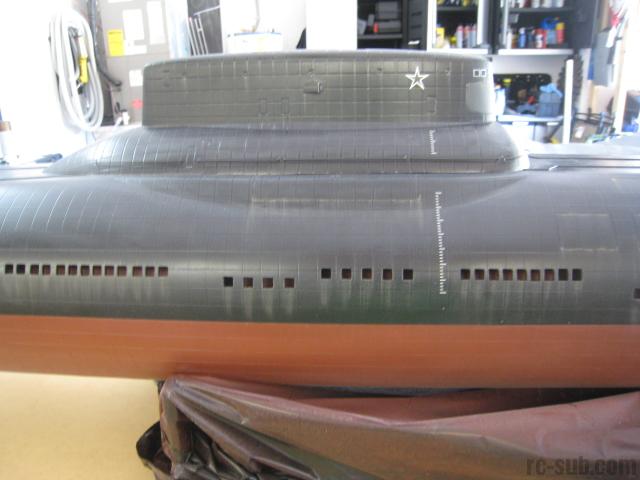
I masked and painted the upper hull a flat black.
After the main color was applied, I added the included dry transfers that came with the kit. I used reference diagrams that I got from the internet. After the transfers were applied, I then went on to clearcoat the entire model in flat clear.
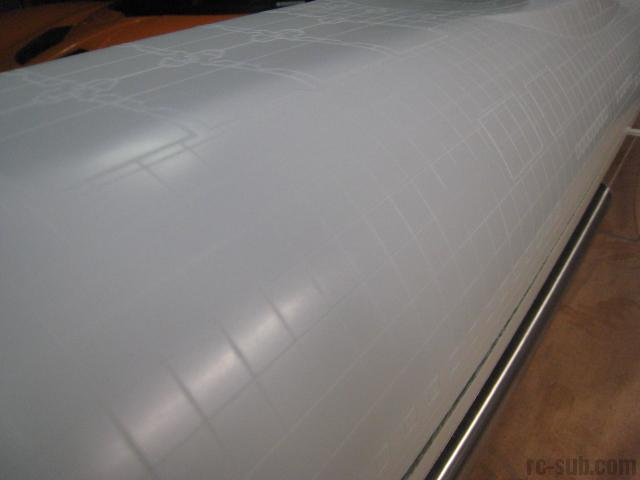
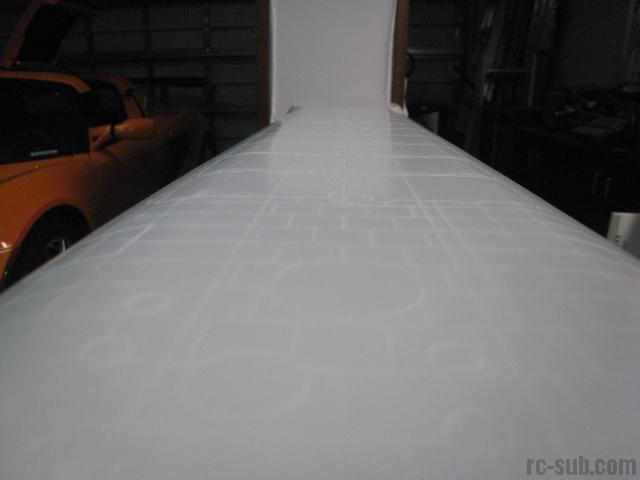
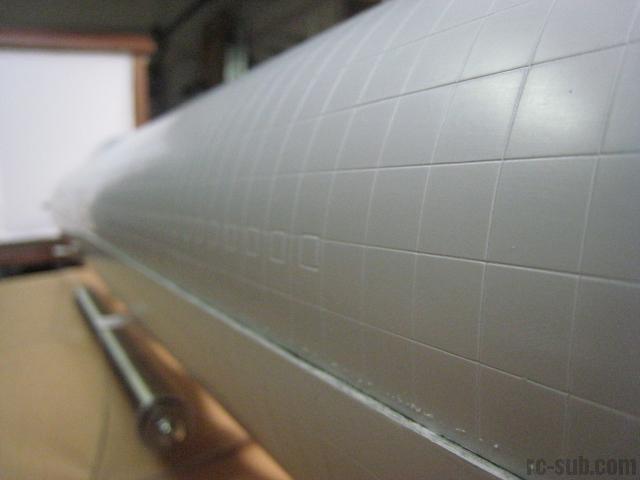
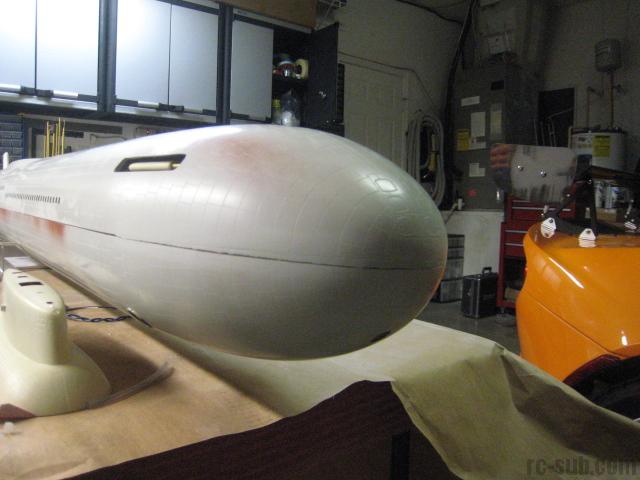
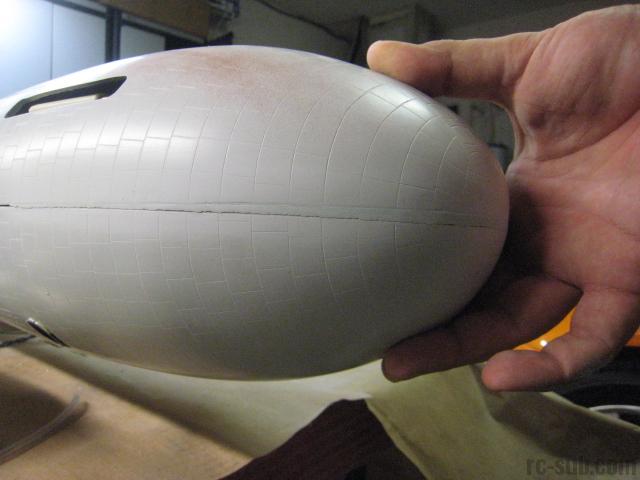
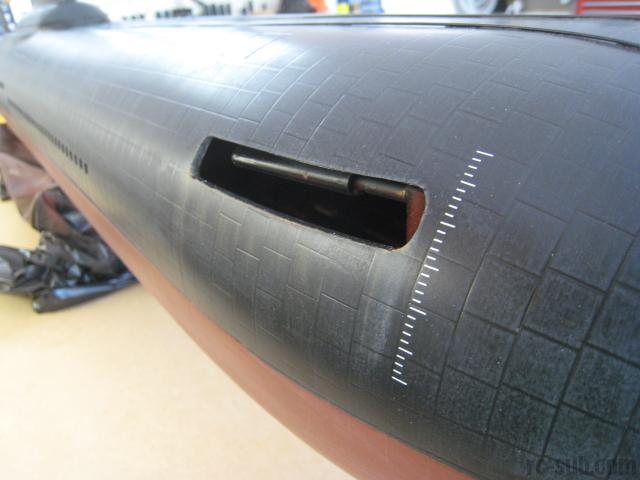
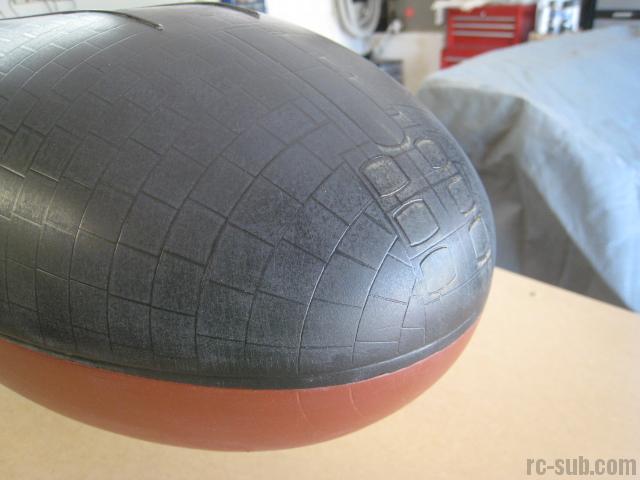
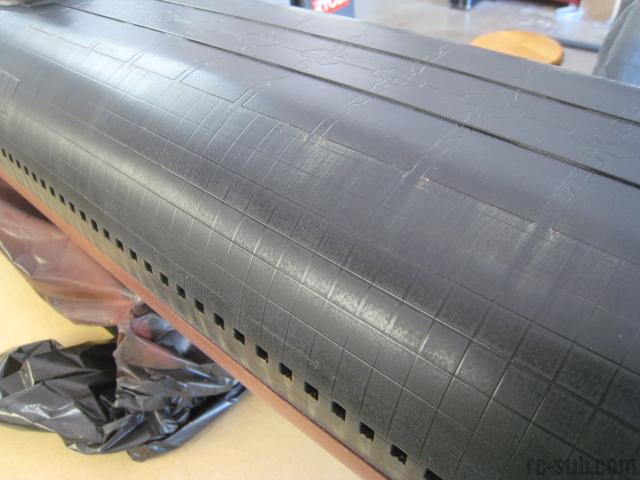
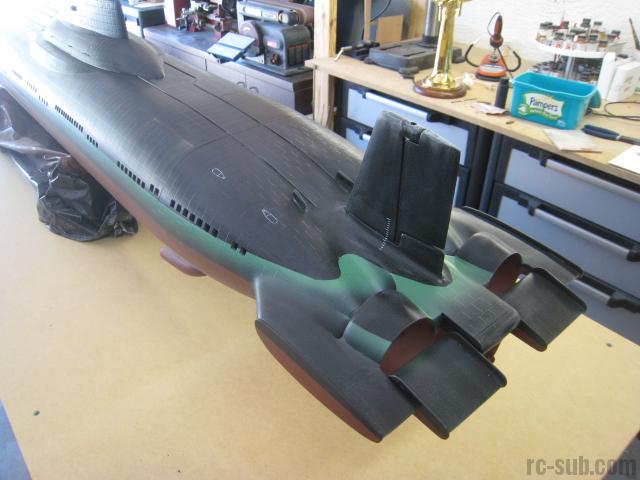
The hull has amazing details scribed into it, including all of the anechoic tiles, so I wanted to make sure that all of that detail was brought out in my paint job. I elected to try sanding the whole upper hull down with a fine sandpaper, and the result was excellent! The upper portions became a weathered gray while the panel lines remained a dark true black. By going in an up and down direction, the effect added a lot of realistic weathering to the model without needing pastels or paint.
I then took some brown pastels and lightly weathered around the hull openings, scribings, missile doors, etc. The effect is very subtle, but very effective in person.
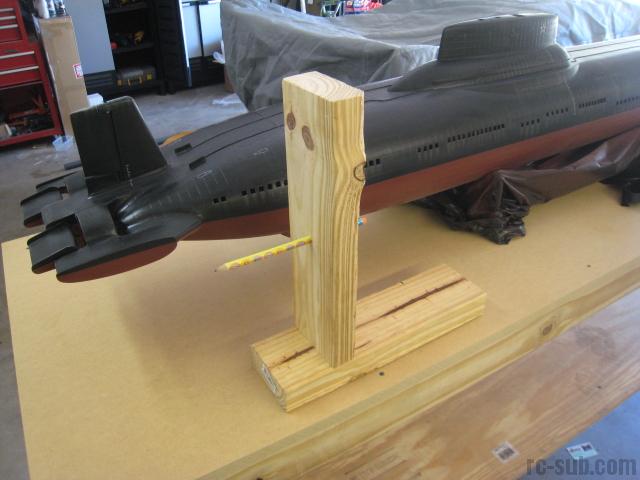
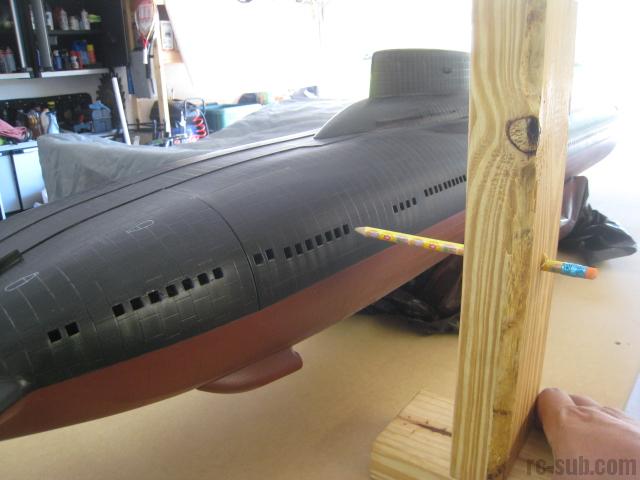
I then went on to mark out the waterline using a quick and dirty jig to hold a pencil. I leveled the boat out and then penciled in the waterline to show where the correct waterline should be.
After that, I masked off the upper hull with masking tape and airbrushed the scum line onto the model in a light green paint. Once that was done, I highlighted the upper portion of the scum line in off-white pastels, blending it downwards. The end effect is very realistic.


October 26, 2010
The leakdown test of the model took place this morning at 6:00am in my pool. The lighting was very poor, but a flashlight helped me spot the following (very minor) leaks:
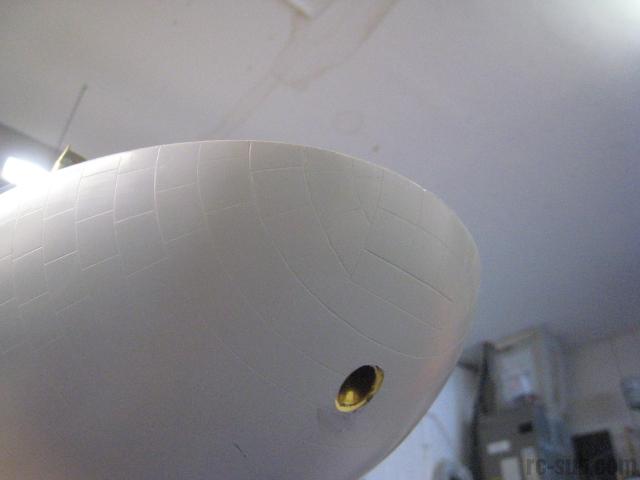
1.) Front periscope seal
2.) Front pressure hull lid bolt
3.) Front Dive Plane bellows seal
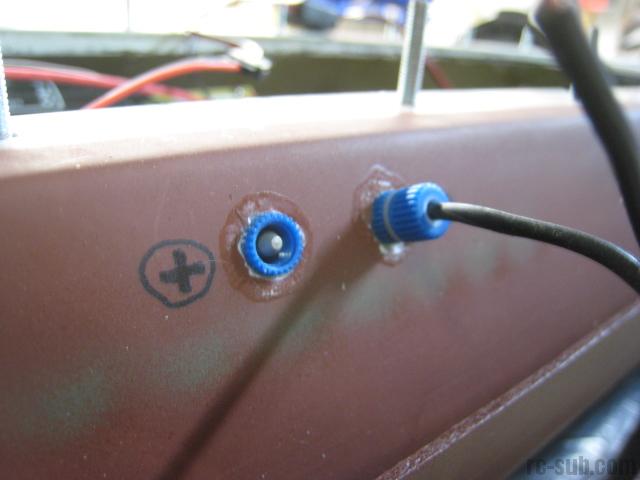
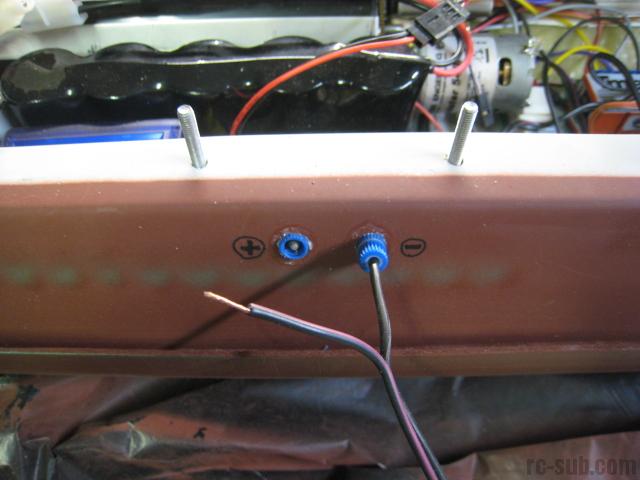
4.) Positive lighting lead fitting
I should be able to have these addressed within about half an hour, and overall I'm very happy with how well the leak test turned out...
October 29, 2010
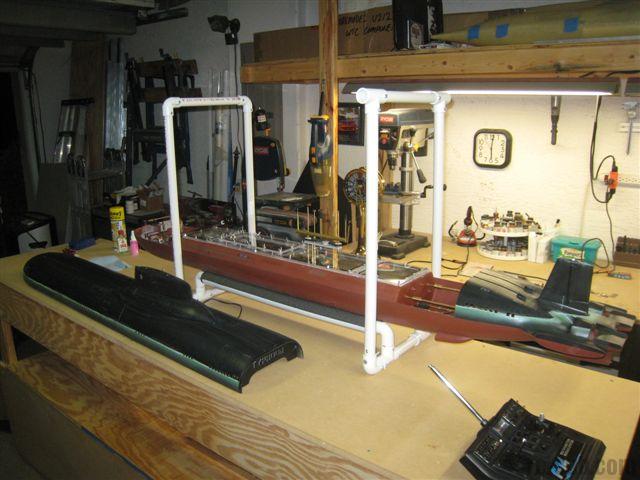
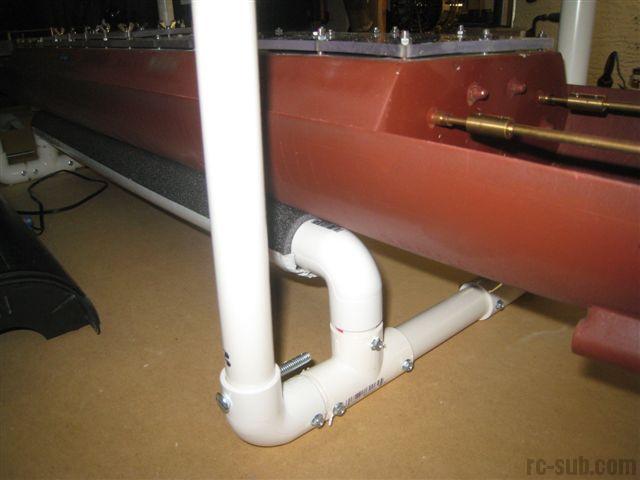
I have created a boat stand for the model to help with transportation and launching and recovery. It is made from simple PVC pipe fittings. The handles secure with bolts for retrieval and launching and can be removed for working on the boat.
I still have the very nice Engel stand that I will use for displaying the model at home when not in use.